Achieving a flawless flooring remodel requires more than just choosing beautiful materials—it demands careful planning, precise execution, and attention to detail. As a Canadian homeowner, you face unique challenges like fluctuating climates and regional building codes. We’ve gathered insider tips from experienced flooring contractors across Canada to help you ensure a stunning, durable result. Follow these expert strategies to elevate your flooring project.
1. Choose Materials Suited to Your Climate
Canada’s diverse weather patterns impact flooring performance:
Consider humidity and temperature: In humid regions like coastal British Columbia, opt for stable materials like engineered hardwood or porcelain tile to prevent warping. In colder provinces like Manitoba, choose flooring with good thermal properties, such as cork or carpet, for warmth.
Test for durability: Select materials that withstand heavy foot traffic or pet activity. For example, luxury vinyl plank (LVP) is a top choice for busy households due to its scratch resistance and waterproof qualities.
Ask about acclimation: Contractors emphasize acclimating materials to your home’s environment for 48–72 hours before installation to prevent expansion or contraction, especially for hardwood in Ontario’s variable climate.
2. Invest in Proper Subfloor Preparation
A flawless finish starts with a solid foundation:
Inspect the subfloor: Ensure it’s level, dry, and free of damage. Uneven subfloors can cause creaking hardwood or cracked tiles. Contractors often use self-leveling compounds to address minor issues.
Address moisture: In basements or damp areas like Nova Scotia homes, install a moisture barrier to protect against mold. Use a moisture meter to confirm subfloor readiness before installation.
Remove old flooring carefully: If replacing existing floors, ensure all adhesive or staples are fully removed to avoid imperfections in the new surface.
3. Prioritize Precise Measurements
Accurate measurements prevent waste and ensure a seamless fit:
Measure twice: Contractors recommend measuring your space at least twice and adding 5–10% extra material for cuts and errors, especially for diagonal or herringbone patterns.
Account for transitions: Plan for transition strips between rooms or flooring types, ensuring they match aesthetically and functionally. For example, T-molding works well for hardwood-to-tile transitions.
Consult for complex layouts: For intricate designs like custom tile mosaics, work with your contractor to map out patterns digitally or on-site to avoid misaligned cuts.
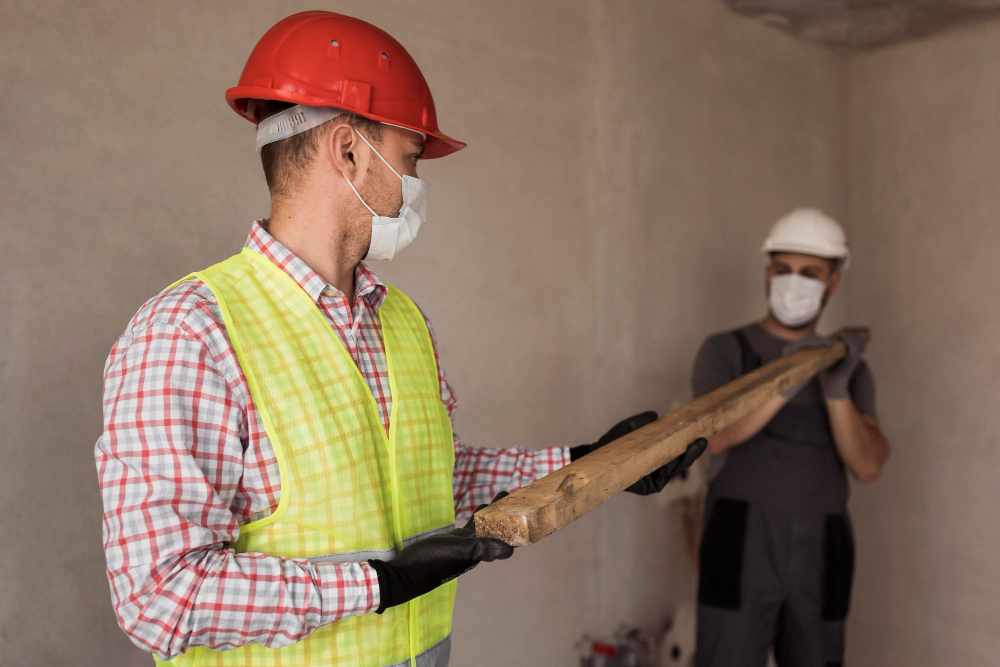
4. Hire Specialists for Your Flooring Type
Not all contractors are equal in expertise:
Choose material experts: Hire contractors with specific experience in your flooring type, such as NWFA-certified pros for hardwood or CTEF-trained installers for tile. This ensures familiarity with techniques like floating vs. glued-down laminate.
Verify past projects: Ask to see photos or visit completed jobs to confirm their skill with your material, especially for high-end options like reclaimed wood or large-format tiles.
Check local knowledge: Ensure your contractor understands regional challenges, like installing radiant floor heating under tile in Alberta’s cold winters.
5. Focus on Installation Details
Small details make a big difference:
Mind the gaps: For hardwood, maintain precise expansion gaps (typically 1/4 inch) to accommodate seasonal movement, especially in Quebec’s humid summers.
Align patterns carefully: For tile or patterned vinyl, start from the room’s center to ensure symmetry. Contractors use chalk lines or laser levels for precision.
Seal edges properly: Apply sealant around edges or wet areas (e.g., bathrooms) to prevent water damage. Silicone caulk is ideal for tile in Vancouver’s rainy climate.
6. Communicate Clearly with Your Contractor
A collaborative relationship ensures success:
Share your vision: Provide inspiration photos or samples to align on aesthetics. Discuss finishes, like matte vs. glossy hardwood stains, early on.
Set a realistic timeline: Agree on a schedule that accounts for drying times (e.g., 2–3 days for hardwood refinishing) or material delays, common in remote areas like the Maritimes.
Address concerns promptly: If something looks off during installation, raise it immediately. For example, misaligned tiles are easier to fix before grout sets.
7. Protect Your Floors During and After Installation
Preserve your investment with proper care:
Minimize dust and damage: Contractors should use plastic sheeting and drop cloths to protect adjacent areas during installation, especially for messy jobs like sanding in Toronto lofts.
Follow curing times: Avoid heavy furniture or foot traffic until adhesives or finishes cure fully—typically 24–48 hours for tile grout or polyurethane coatings.
Plan post-installation cleanup: Ask your contractor to remove debris and vacuum thoroughly to reveal the floor’s true finish.
8. Understand Maintenance Requirements
Long-term care keeps floors flawless:
Ask for a maintenance guide: Request specific care instructions for your material. For example, hardwood needs regular sweeping and occasional re-coating, while tile requires grout sealing every 1–2 years.
Use appropriate products: Avoid harsh cleaners on natural materials. Contractors recommend pH-neutral cleaners for stone tiles or hardwood-safe solutions for oak floors.
Schedule periodic checks: For high-traffic areas, have your contractor inspect floors annually for wear, especially in busy Calgary households.
9. Budget for Quality Over Shortcuts
Investing upfront saves money long-term:
Avoid cheap materials: Low-cost laminate or thin tiles may crack or fade quickly. Spend on mid-to-high-quality options for durability, especially in Saskatchewan’s extreme temperatures.
Don’t skip underlayment: Quality underlayment enhances comfort and soundproofing, critical for condos in Vancouver or Montreal.
Hire reputable pros: Paying for experienced contractors reduces the risk of costly repairs, like fixing poorly installed vinyl that peels in humid Newfoundland homes.
10. Stay Involved Throughout the Project
Active oversight ensures perfection:
Visit the site regularly: Check progress during key stages, like subfloor prep or initial material layout, to catch issues early.
Document the process: Take photos to track progress or resolve disputes, such as ensuring the correct tile batch was used.
Celebrate the result: Once complete, inspect the final work with your contractor to confirm every detail meets your expectations before signing off.
Final Thoughts
A flawless flooring remodel combines thoughtful material selection, meticulous installation, and ongoing care. By applying these expert tips from Canadian flooring contractors, you’ll achieve a stunning, durable finish that enhances your home for years. Start by selecting climate-appropriate materials and a skilled contractor, then stay engaged to ensure every detail shines.
Ready to transform your space? Consult with local flooring specialists to bring these tips to life and create a floor that’s both beautiful and built to last.


Write a comment ...